AuthenticPeach
-
Posts
29 -
Joined
-
Last visited
AuthenticPeach's Achievements
-

request mod.info - Disable my mod if other mod is enabled
AuthenticPeach replied to Konijima's topic in Mods
Yeah I would definitely have some uses for this. Often I get request for a certain "flavor" of the mod I created. I want X without these features, so I make a separate module and I tell them to choose either or. But things get auto enabled or they don't read. So it would be good if we have this as an opposite function to "require". -
Hello All! I made this guide to document this guideline for modders to follow. Prior to the release of Build 41 MP, you could have gotten away with the luxury of deleting files and the organization of your mod well after it's initial release. Now that servers have gotten involved and factoring in Steam's spotty system regarding workshop updates, things are a lot more complicated and quirky. It is best to know the workarounds to save you hours of troubleshooting with your subscriber base and any pain from hate-posts. I also made a guide for updating mods for Build 41 MP, so do give that a read as well. 1. From the start, be organized with your mod, and organize it as you go. It will be increasingly frustrating if you have not kept up with it. 2. Avoid deleting lua or script files. Steam does not log the deletion of files for server owners. Server owners would have to delete their own copies of your mod. You do not want to assume that all server owners know how to do this or that they have to do this, because you would be wrong. 3. Instead of deleting an unwanted/unneeded file, leave it empty. Yes, this practice will bother you, especially if you have OCD. However, this is current workaround that we all should adopt until TIS can offer a solution to it. This guide will offer more information as things develop.
-
Hi. This is a post where I kindly ask TIS for some new things to make modding certain things possible or viable. 1. Custom Gas cans - Link up the item code where custom gas cans can easily be made . It can work similar to how water bottles work since they are both drainables. 2. Custom Sledgehammers - Link up the item code where custom sledgehammers can easily be made with the tagging system. It can work similar to how axes can be added and functional with cutting down trees. 3. Item type characteristics sharing - the ability for different item types to share characteristics, such as clothing-type flashlights, clothing-type drainables, and clothing-type radios 4. Radios work when attached to the hotbar. 5. ClothingItemExtra tag functionality with weapons. This is a useful tool already for clothing-type items, the ability to swap between different models and item scripts. It would be great to do with with weapon scripts. This would add functionality to multi-tool weapons, such as using a spear item as a long blunt weapon. 6. Documentation regarding adding/making animations for Zomboid - Since there is a very low chance that Animzed will be released, it would be appreciated if any documentation or pointers be made or given to implement new animations, other than by timedactions or the emote wheel - which are the easiest and most viable to do currently. It would be greatly appreciated if any of these get taken up. Thanks.
-
Groovy!
-
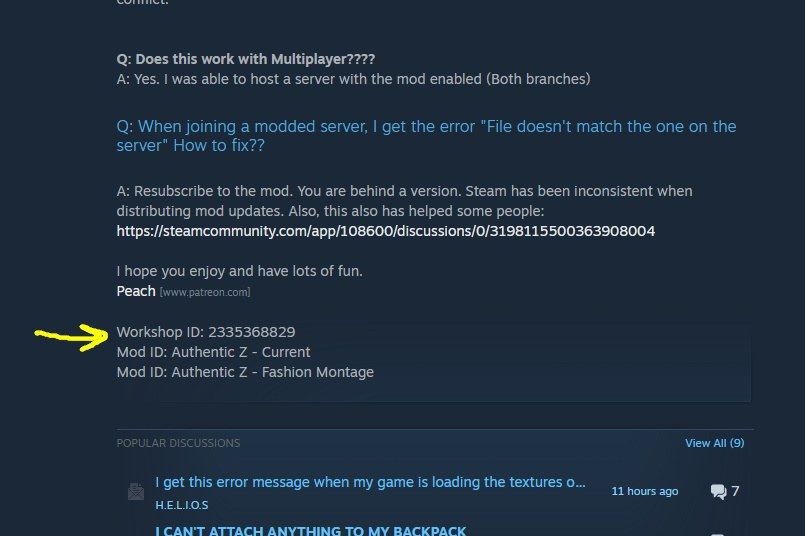
Hello All! I made this guide to assist the many bug reports that have come in regarding mods that have updated after the release of Build 41 Multiplayer. I have put together all the walkthroughs and guides here so you don't have to fish around for odd ends and bits. More may come as things develop. One of the main issues that sprung up with the release of Project Zomboid's Build 41 Multiplayer is the issue of mods updating after a local or dedicated server uses the mod for its save. This issue occurs because, in the last six months, steam's servers have been unreliably updating mod data for clients. Some things to know: Workshop ID's for mods are located on the bottom of each mod's workshop page. Figure 1: Mod Workshop ID of Authentic Z When you enable a mod for a server, there are two locations involved: A server directory for each mod A client directory for each mod When it comes to PZ Multiplayer, all of the files in both locations must be identical as it is used as an anti-cheat measure. Therefore: Since the client's copy may be mismatched with the server copy, the client will be rejected with a message: "Workshop item version is different than server's" Figure 2: Mod mismatch from the host end. Figure 3: Mod mismatch from the client end. The Fixes There are a few fixes and workarounds that people have found to have fixed this issue. Method 1: Copy, delete, paste method Note: this method may only apply to Local Hosted servers. 1: Copy mod folder from "...\steam\steamapps\workshop\content\108600" 2: Delete the old and Paste the mod folder in "...\Steam\steamapps\common\ProjectZomboid\steamapps\workshop\content\108600" Example: Copy the 2335368829 folder (Authentic Z mod folder) from "...\steam\steamapps\workshop\content\108600" and pasted it to "...\Steam\steamapps\common\ProjectZomboid\steamapps\workshop\content\108600" Figure 4: Step 1 on Left, Step 2 on Right. Notice how the right location was older than the left location. Delete the old, paste in the newer one from the left side. Method 2: E6 Method (from user Глеб) 1. Delete the "appworkshop_108600.acf" file that's inside the "C:\Program Files (x86)\Steam\steamapps\common\ProjectZomboid\steamapps\workshop" path, if you are running a dedicated server it would be in "\SteamLibrary\steamapps\common\Project Zomboid Dedicated Server\steamapps\workshop" after that run the server and it will force update the mods of your server Method 3: Klean Method Note: this method only applies to Dedicated servers. "For klean's server, after Filibuster's updated, this worked so that the server would update to the updated version of Filibusters. Should work for mods that recently updated, although the clients also need to ensure that they have updated versions of the mods as well In the installation directory for the dedicated server, you'll have a steamapps folder. Just delete it, as it only contains mod info, including Steam's manifest. If there's an issue with the manifest updating (or it thinks its already updated), the game won't download the mods. It should then work the next time you start the server." Regarding Local hosted servers go into steam and into the game's properties, browse local files, inside the PZ folder, delete the entire steamapps folder. Method 4: Spiffo Bot Method Many instances of mismatching mod versions have been fixed by unsubscribing from the mod(s), restarting Steam, and then resubscribing to the mod(s). Alternatively, in the installation directory for the dedciated server, you'll have a *steamapps *folder. Just delete it, as it only contains mod info, including Steam's manifest. If there's an issue with the manifest updating (or it thinks its already updated), the game won't download the mods. The mod might then work when restarting the server. Please also make sure you are not subscribing to random mod packages that simply upload an unedited version of a mod. When the original mod authors update their mods, you will have to rely on whoever uploaded that modpack to keep the mods up to date. Instead, use the workshops "Collections" feature. Modpacks that upload mods without the approval of the mod authors are also subject to be removed from the workshop at any point. Method 5: The Nuclear Route (To get it working at all costs) 1: Delete world 2: Remove problematic mod(s) from server settings and save this. 3: Close game and unsubscribe from problematic mod(s) 4: Completely Close Steam 5: Re-subscribe to problematic mod(s) , start game up, readd them in settings, create new world. Some other helpful reads: https://steamcommunity.com/sharedfiles/filedetails/?id=2681173441 https://steamcommunity.com/app/108600/discussions/0/3198115500363908004 https://steamcommunity.com/app/108600/discussions/0/3198116134628473049/ https://steamcommunity.com/workshop/filedetails/discussion/2335368829/3198116134629549910/ More methods may come at a later time.

-
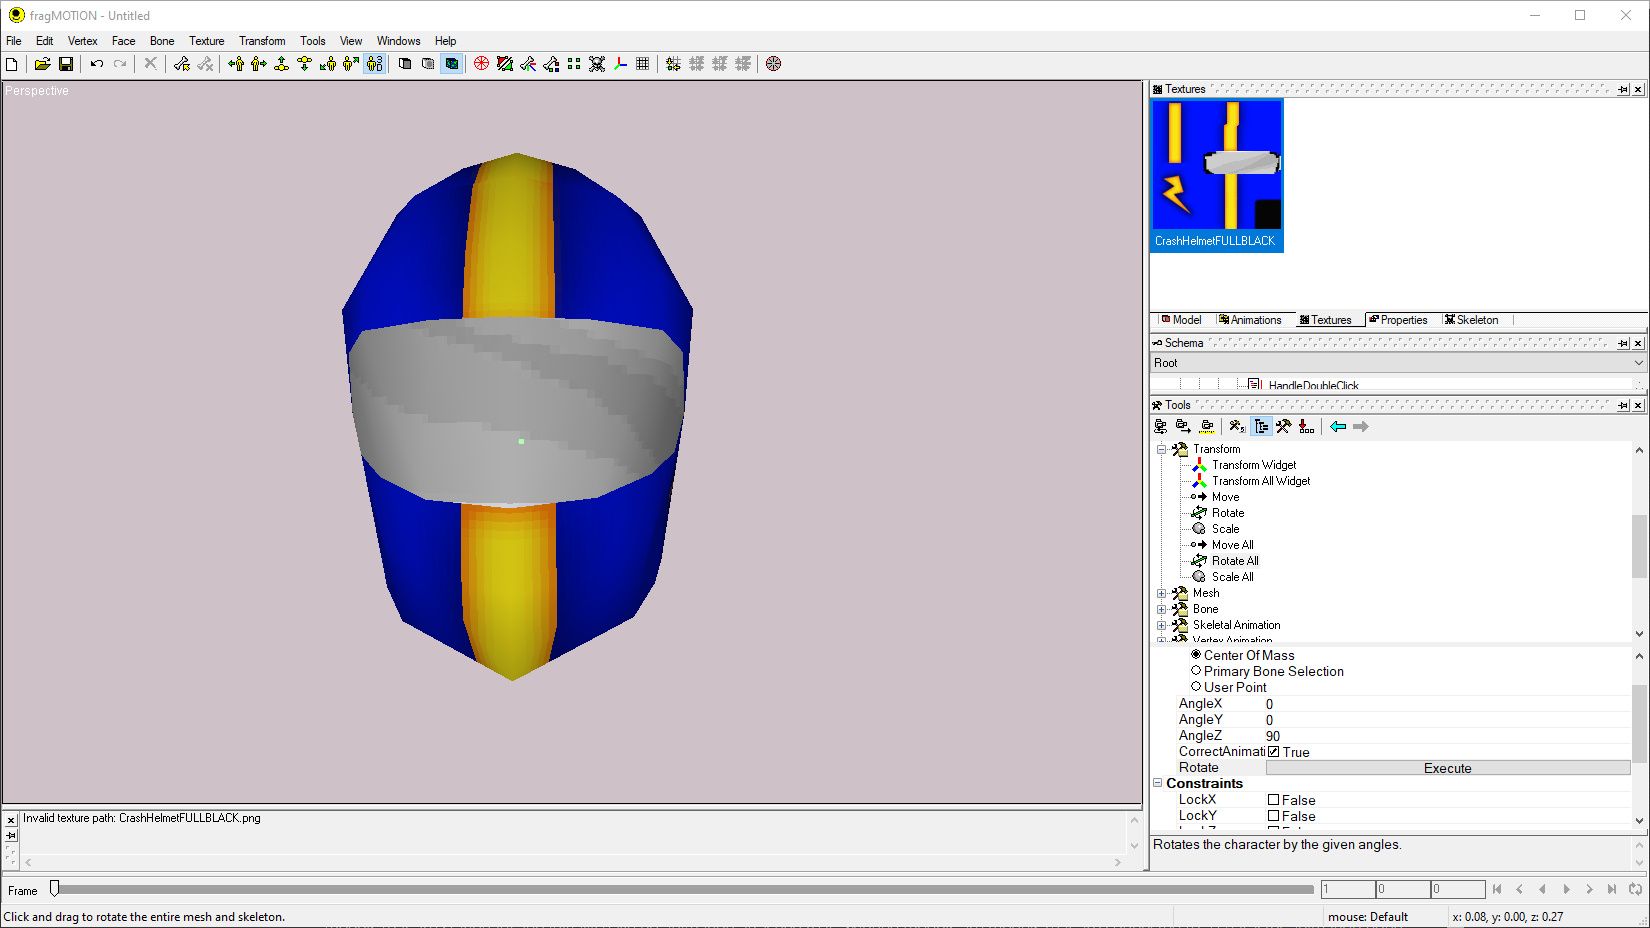
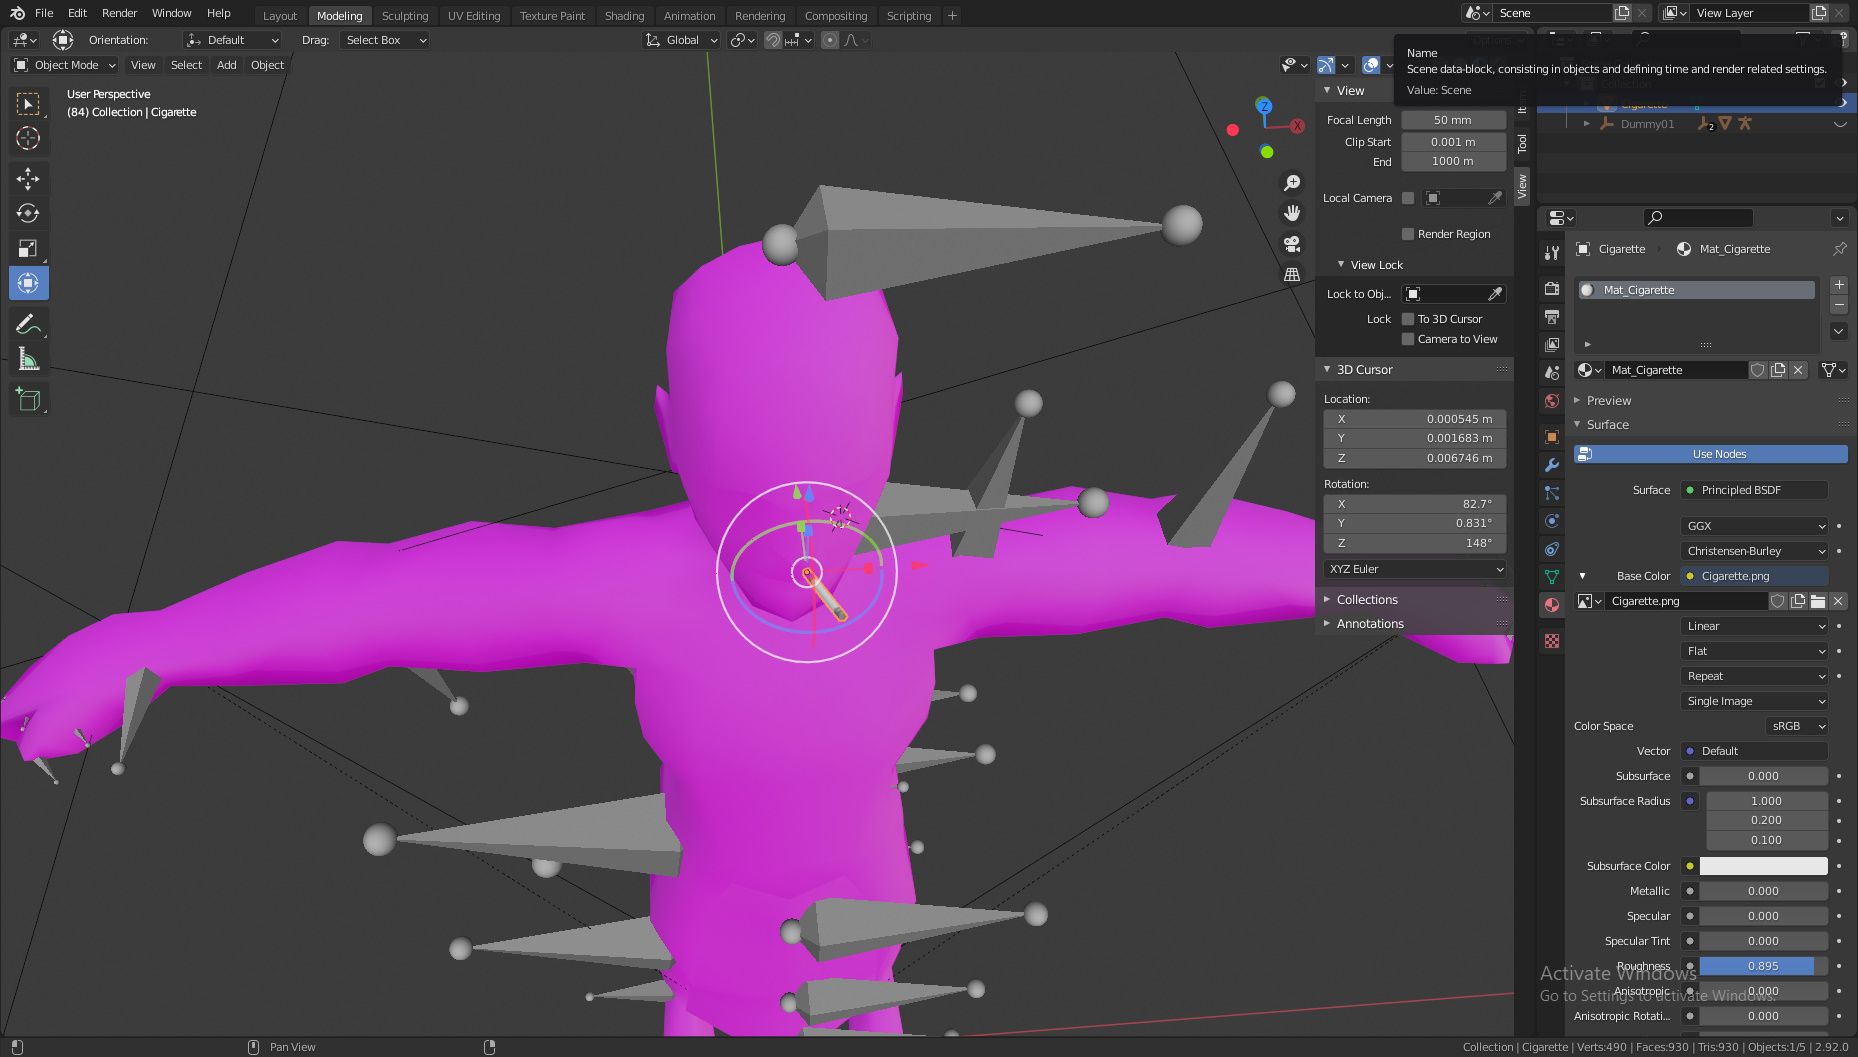
I recommend importing the vanilla water bottle or soda can and use that to orientate it correctly. Make sure the can is at the main origin point.
-
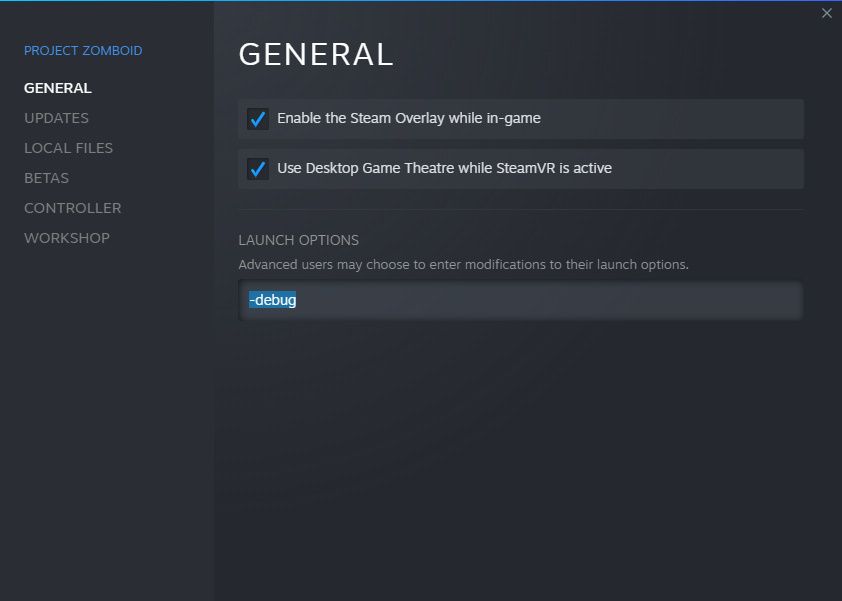
How to enable -Debug mode for Project Zomboid
AuthenticPeach posted a topic in Tutorials & Resources
Debug Menu is a great tool, created by the developers, that advanced modders use to efficiently test their mods. Regular players can also use this utility to learn and study the behavior of the game. This guide will display and articulate how to enable -debug mode and spawn items for Project Zomboid. Note: this method will only work for Steam users. Step 1) Click on Properties. Step 2) Type in "-debug". Step 3) Launch and Start the game with your mod enabled. Step 4) Spawn the Item via the Item List. Note: Chances are, you may come across this screen.
-
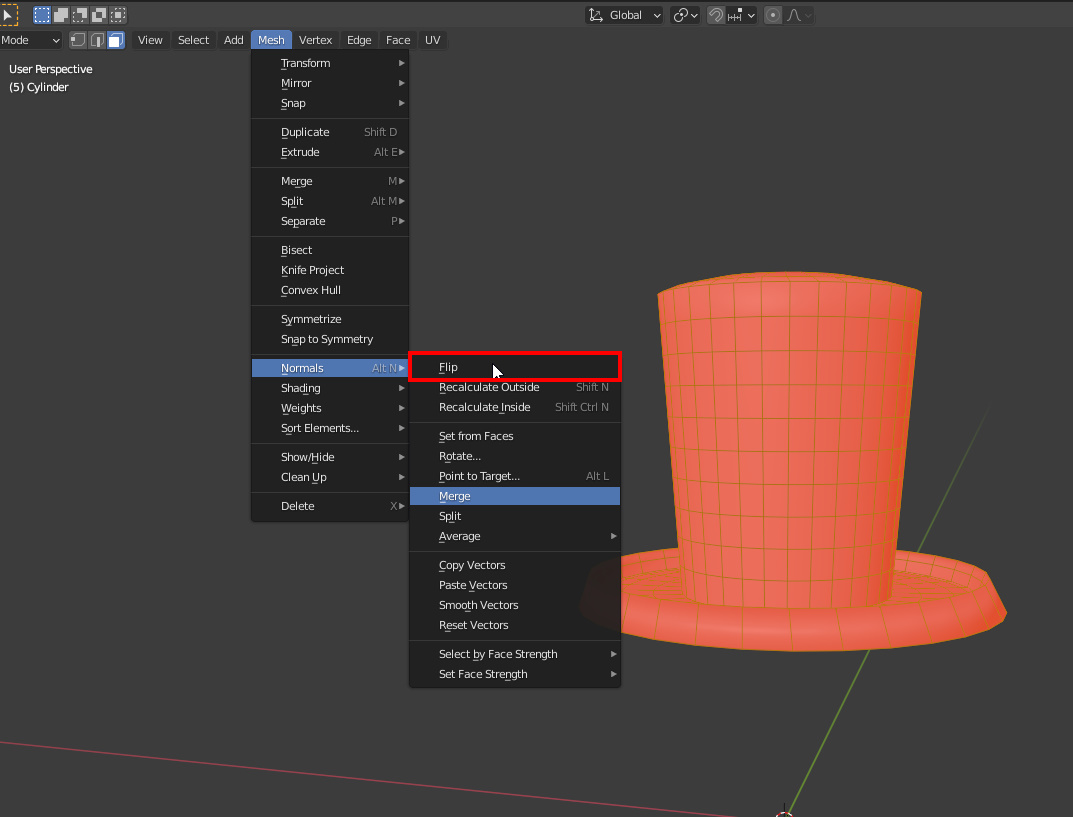
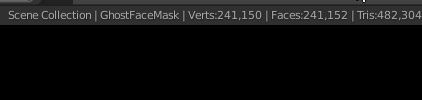
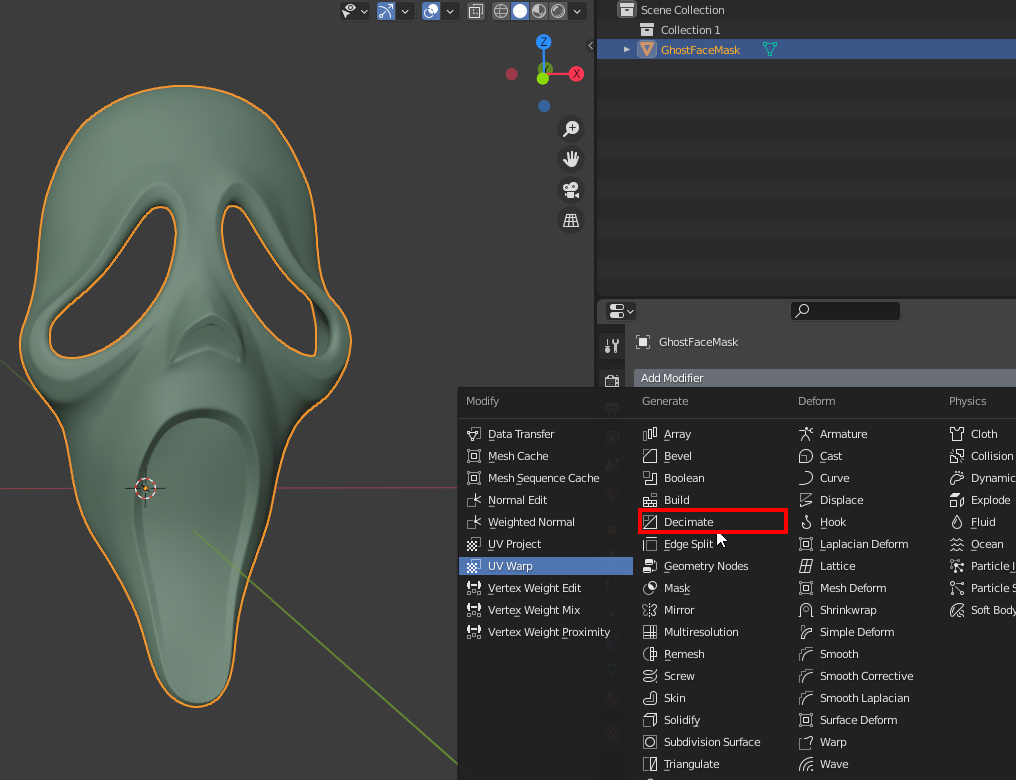
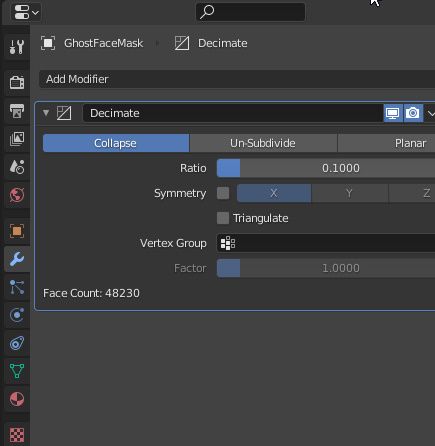
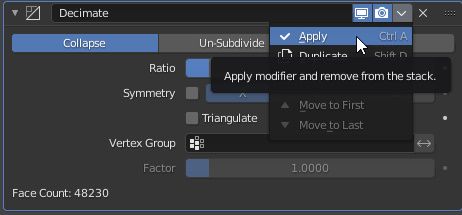
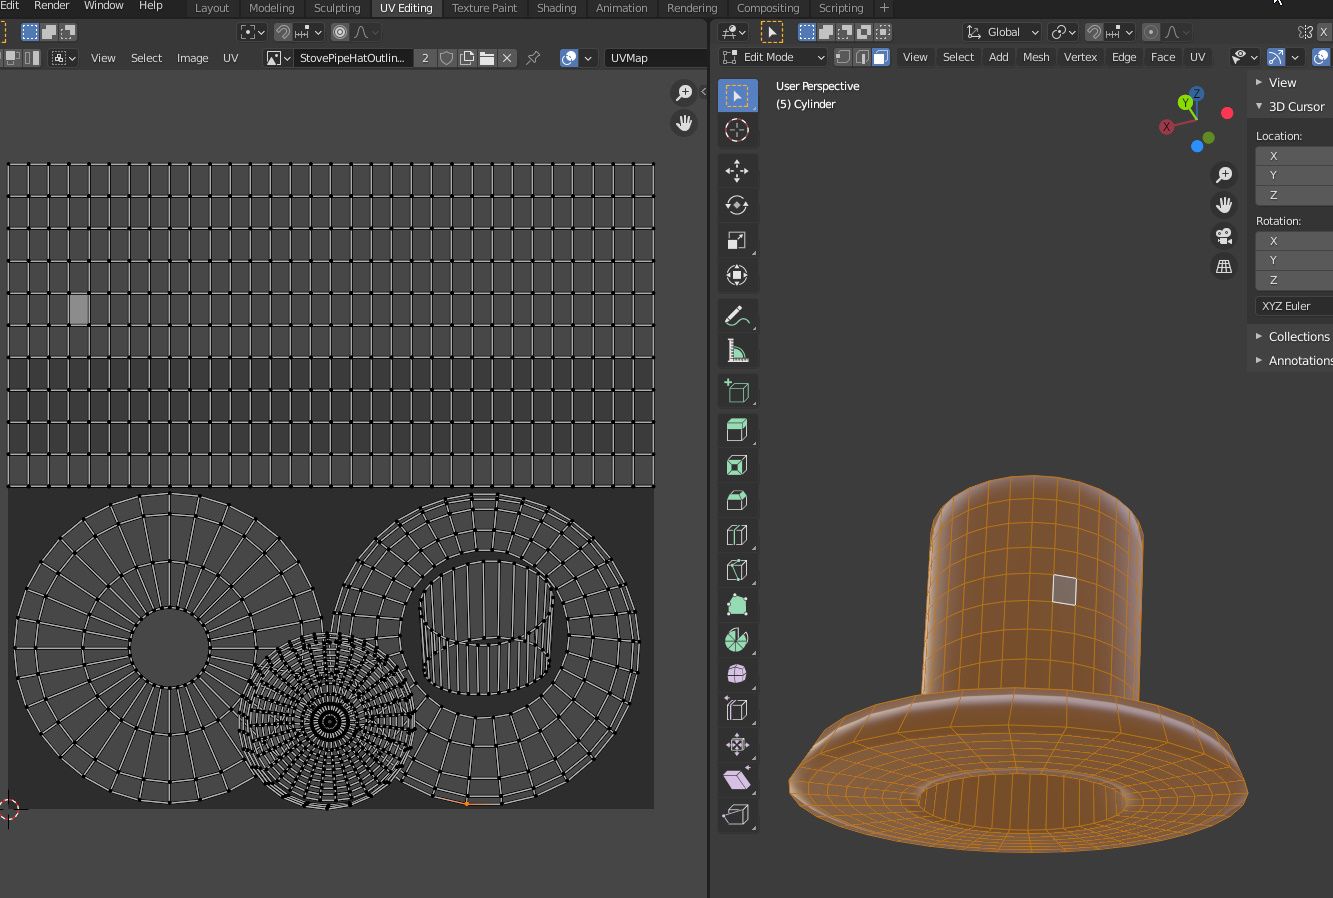
Hello and Welcome! Here you will find a concise and comprehensive guide and tutorial of making 3D models for Project Zomboid. Currently, this will mainly pertain to custom Clothing creation but may include weapon creation in the future. This will present how to create models from scratch with Blender and bringing them into the game. I would like to emphasize that with the right optimization, you can bring any model into Zomboid. Step 1) Installation and setup Step 2) Model creation Step 3) Skinned model or not? If not, Export your model and go onto the next step. Step 4) Creating the clothing item scripts Step 5) Testing your Model Step 6) Ground models As of 41.56, Project Zomboid added the ability to add an extra model to the item scripts, which pertains to when the item is dropped on the ground, or placed on a table. Here is how to do it. (Images coming soon) Step 1. You will need to add an additional tag in your scripts. I usually like adding mine at the bottom of the script. Step 2. You then need to create the reference script that points to the location of your model and texture. Referencing the location of your texture is actually optional for clothing items since the code will default to pulling the texture from your clothingitem.xml. Step 7) Extra things to do with 3D models Guides regarding 3D Car models Thanks a ton to the people that taught and assisted me along the way to learn Blender for Zomboid - DETOX, Maxwell218, PawLow, and Shark!
-
First one is the back walls to the Fossoil Gas Stations act light a light switch when you click them. Second one is the Fossoil sign can be indefinitely picked up, creating clones of it. I made a quick video showcasing them:
- 1 reply
-
- 1
-

-
Do you have any mods enabled? Were you playing on Custom Sandbox?
-
Combat Related Bugs + Missing Mechanics Literature Textures
AuthenticPeach replied to AuthenticPeach's topic in Bug Reports
Ok so my question is, If I aim, what do I use as a point of reference of attack in that 15 degree arc? Would it be the cursor, the circle at the bottom, or somewhere in between? Thanks. -
Video shows everything. Players can miss a zombie when they are right in front of one, Push-stomp kill, Delayed drag-down animation, Missing Mechanics Book + Magazine 3D textures
-
I know that other people reported this a while back, but we need a 2020 post about it. You can take an infinite amount of dirt from one tile of dirt. Also, you can not pick up and remove the dirt tile once it is placed down. For instance, I can take 1 dirt tile and put place it on the roof of my base to start a roof farm, then I can take 20+ more dirt from that 1 dirt tile to complete it. One way I can see a fix for this is maybe you can only take dirt from a dirt tile that only has grass on top of it?
-
Yes, I want Apocalypse Mode on Kingsmouth. I always play apocalypse mode on the normal map. I think multihit is way too easy, especially the multihit shove. Therefore I do not try as hard on my Kingsmouth runs. I often get out of situations that I would have died if it was on apocalypse setting. All the other settings are good on the challenge, I just want a variant of it where multihit is disabled. :D
-
I got a video made showcasing each item in detail here, if you are interested. The video is made kindheartedly!